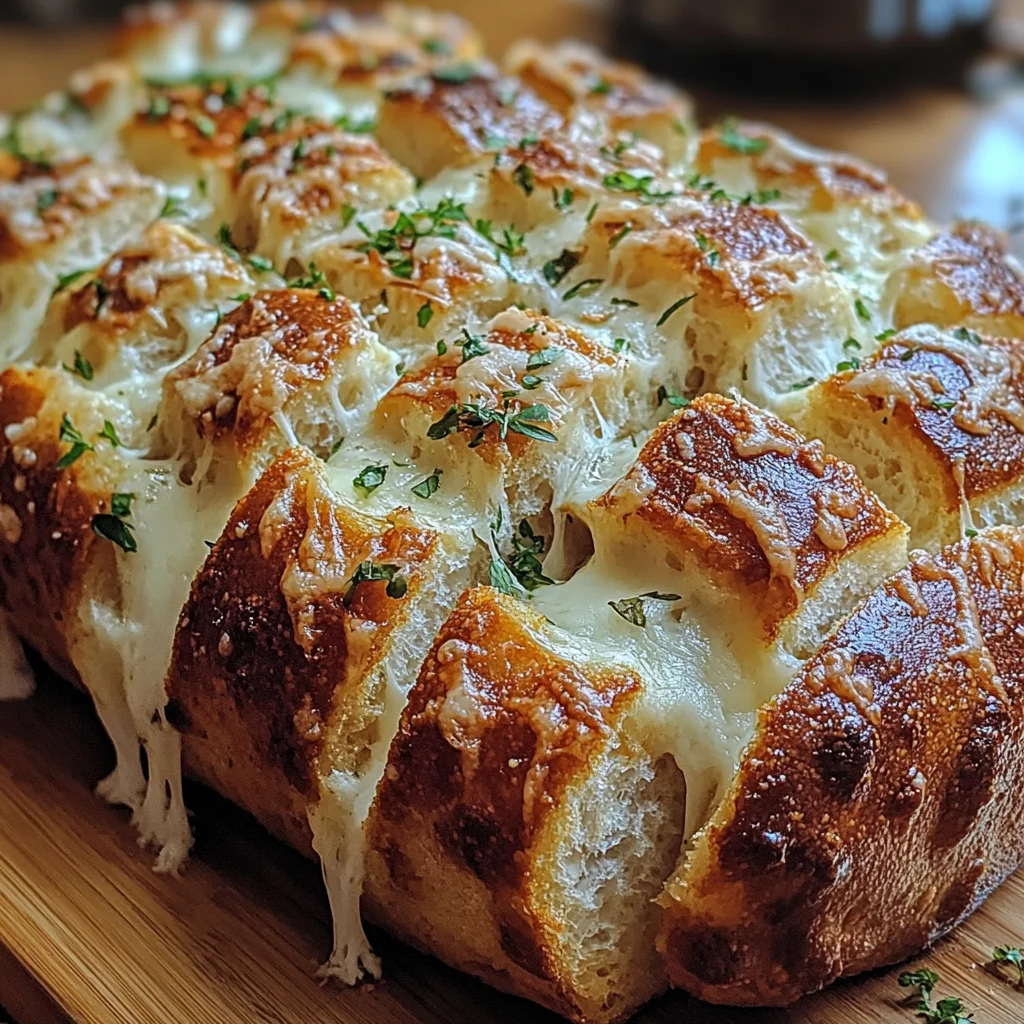
Garlic Parmesan Pull-Apart Bread
If you’re looking for a recipe that brings everyone together around the table, look no further than Garlic Parmesan Pull-Apart Bread! This delightful creation not only fills your home with an irresistible aroma but also creates a fun, interactive experience as friends and family pull apart the warm, cheesy pieces. It’s perfect for busy weeknights when you want something comforting or for family gatherings where you want to impress without spending hours in the kitchen.
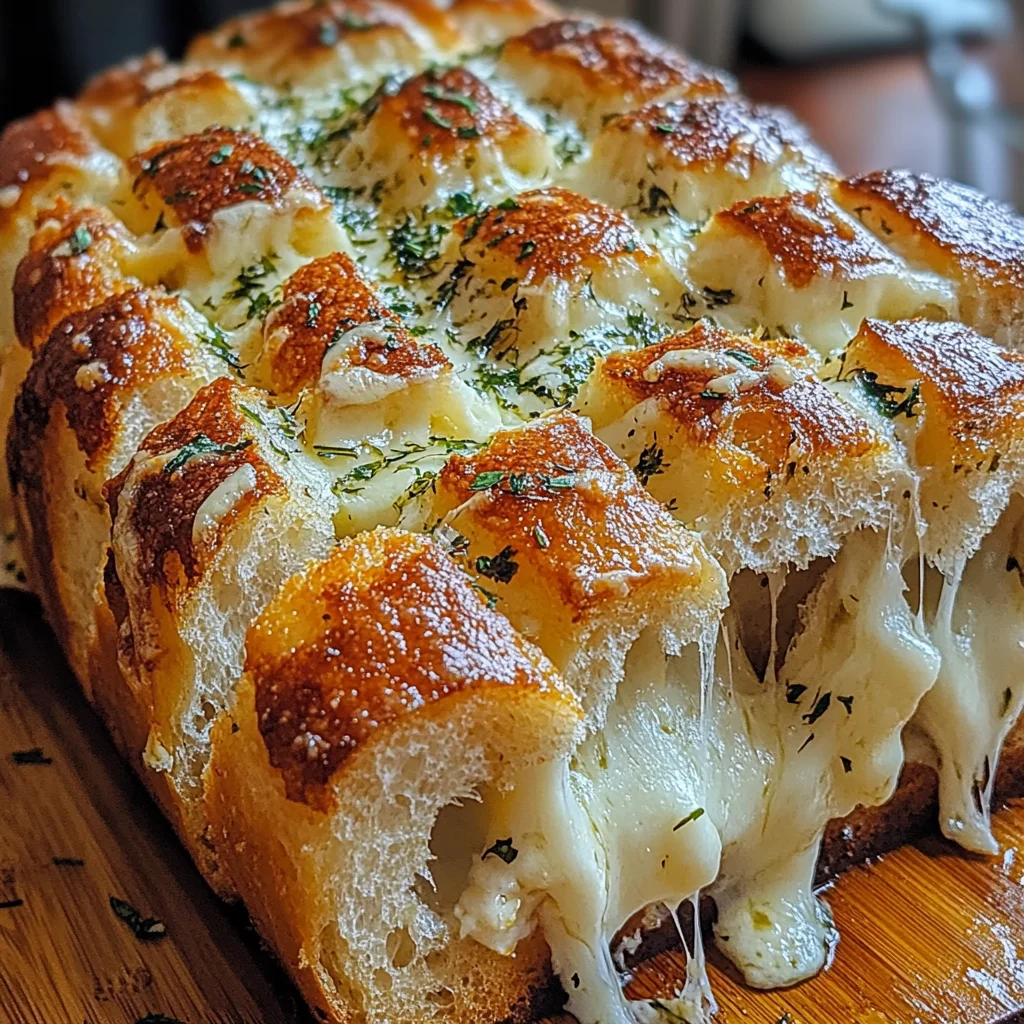
What makes this Garlic Parmesan Pull-Apart Bread so special is its gooey center and crispy crust. Each bite delivers a burst of flavor that’s hard to resist. Whether you’re enjoying it as a side dish or an appetizer, this bread is sure to be a hit on any occasion!
Why You’ll Love This Recipe
- Easy to Prepare: With just a few simple steps, you can whip up this delicious bread without any fuss.
- Family-Friendly Appeal: Everyone loves cheesy bread! It’s a surefire way to get kids and adults alike excited about dinner.
- Make-Ahead Convenience: You can prepare it in advance and bake it just before serving, making entertaining a breeze.
- Irresistible Flavor: The combination of garlic and Parmesan creates a mouthwatering taste that will have everyone coming back for more.
Ingredients You’ll Need
Gathering these simple, wholesome ingredients will make your kitchen smell heavenly! Here’s what you need to create this Garlic Parmesan Pull-Apart Bread:
For the Bread
- 1 large artisan loaf
- 1/2 cup melted butter
- 4 cloves minced garlic
- 1 cup shredded mozzarella cheese
- 1/2 cup grated Parmesan cheese
- 1 tablespoon chopped fresh parsley (optional)
- Salt and pepper to taste
Variations
This recipe is wonderfully flexible, allowing you to adapt it based on your preferences or what you have on hand. Here are some tasty ideas:
- Add herbs: Mix in dried Italian herbs like oregano or thyme for an extra flavor boost.
- Spice it up: Add red pepper flakes for a little heat that pairs perfectly with the garlic.
- Cheese swap: Try swapping out mozzarella for cheddar or gouda for a different cheesy experience.
- Veggie add-ins: Incorporate sautéed spinach or roasted red peppers into the cheese mixture for added nutrition and flavor.
How to Make Garlic Parmesan Pull-Apart Bread
Step 1: Prepare the Butter Mixture
In a small bowl, combine melted butter and minced garlic. This step is crucial as it brings out the rich flavors of garlic while coating the bread evenly. Set it aside to let those flavors mingle.
Step 2: Cut the Bread
Carefully slice your artisan loaf into sections without cutting all the way through. This allows each piece to pull apart easily once baked. Be gentle here—this is where the magic happens!
Step 3: Fill with Cheese
Gently pry apart the slices and drizzle in your garlic butter mixture. Then, stuff each section with mozzarella and sprinkle Parmesan throughout. The goal is to create pockets of cheesy goodness that will melt beautifully during baking.
Step 4: Bake It Up
Wrap your filled loaf in foil and bake at 350°F (175°C) for about 15-20 minutes. This step ensures that the inside gets nice and melty while keeping the crust beautifully crispy.
Step 5: Serve Warm
Once out of the oven, let it cool slightly before serving. You can garnish with fresh parsley if desired. Watching loved ones pull apart their own pieces adds an extra layer of joy as they enjoy this delightful Garlic Parmesan Pull-Apart Bread together!
Pro Tips for Making Garlic Parmesan Pull-Apart Bread
Making Garlic Parmesan Pull-Apart Bread is a delightful experience, and these tips will help you take your creation to the next level!
-
Choose the right bread: Opt for a crusty artisan loaf, as it adds texture and allows for better pulling apart. A softer bread may not hold up as well during baking.
-
Use fresh garlic: Freshly minced garlic provides a more potent flavor compared to pre-minced varieties. It enhances the aroma and taste, making each bite absolutely delicious.
-
Don’t skimp on cheese: Generously filling each crevice with mozzarella and Parmesan ensures that every pull delivers cheesy goodness. A mix of cheeses also adds depth to the flavor profile.
-
Let it rest: Allowing the bread to sit for about 10 minutes after baking lets the flavors meld together while also ensuring that it’s easier to handle when serving.
-
Experiment with herbs: Adding dried herbs like oregano or thyme can elevate your bread’s flavor profile even further. They complement the garlic and cheese beautifully, creating a more aromatic experience.
How to Serve Garlic Parmesan Pull-Apart Bread
Presenting your Garlic Parmesan Pull-Apart Bread can be just as fun as making it! Here are some ideas on how to serve this savory delight.
Garnishes
- Chopped fresh parsley: A sprinkle of vibrant green parsley not only adds color but also a fresh flavor that balances out the richness of the cheese.
- Red pepper flakes: For those who enjoy a bit of heat, offering red pepper flakes on the side allows guests to customize their experience.
Side Dishes
- Fresh garden salad: A light salad with mixed greens, cherry tomatoes, and a tangy vinaigrette complements the richness of the bread perfectly.
- Vegetable platter: Serve an array of colorful raw vegetables like carrots, bell peppers, and cucumbers with a creamy dip for a refreshing crunch alongside your warm bread.
- Spinach artichoke dip: This creamy dip pairs wonderfully with pull-apart bread. The rich flavors of spinach and artichokes make it an irresistible match.
- Roasted tomato soup: A warm bowl of tomato soup is not only comforting but also makes for a perfect dipping companion for your cheesy bread.
Now that you know how to serve your Garlic Parmesan Pull-Apart Bread, get ready to wow your guests (or yourself) at your next gathering! Enjoy every flavorful pull!
Make Ahead and Storage
This Garlic Parmesan Pull-Apart Bread is perfect for meal prep or making ahead of time, allowing you to enjoy its cheesy goodness whenever you crave it. Here’s how to store any leftovers or prepare it in advance.
Storing Leftovers
- Allow the bread to cool completely before storing.
- Wrap tightly in plastic wrap or aluminum foil.
- Place wrapped bread in an airtight container to maintain freshness.
- Store at room temperature for up to 2 days or in the refrigerator for up to a week.
Freezing
- To freeze, ensure the bread is fully cooled.
- Wrap securely in plastic wrap and then in aluminum foil.
- Label with the date and freeze for up to 3 months.
- Thaw overnight in the refrigerator before reheating.
Reheating
- Preheat your oven to 350°F (175°C).
- Remove wrapping and place bread on a baking sheet.
- Cover loosely with aluminum foil to prevent over-browning.
- Heat for about 10-15 minutes, or until warmed through, then serve.
FAQs
Here are some common questions about Garlic Parmesan Pull-Apart Bread that might help you out!
Can I use different types of cheese in my Garlic Parmesan Pull-Apart Bread?
Absolutely! While this recipe highlights mozzarella and Parmesan, feel free to mix in other cheeses like cheddar or gouda for added flavor.
What pairs well with Garlic Parmesan Pull-Apart Bread?
This delicious bread pairs wonderfully with soups, salads, and pasta dishes. It’s also perfect as an appetizer alongside dips and spreads.
How can I make my Garlic Parmesan Pull-Apart Bread even more flavorful?
Consider adding herbs like oregano or basil, or even spices like red pepper flakes, for an extra kick of flavor.
Can I prepare Garlic Parmesan Pull-Apart Bread ahead of time?
Yes! You can prepare it a day in advance by assembling everything and storing it covered until you’re ready to bake.
What should I do if my Garlic Parmesan Pull-Apart Bread is too dry?
If your bread turns out dry, try brushing it with melted butter before serving. This will add moisture and enhance the flavors beautifully!
Final Thoughts
I hope you enjoy making this Garlic Parmesan Pull-Apart Bread as much as I do! Its delightful blend of flavors is sure to impress anyone who tries it. Whether it’s for a cozy night at home or a gathering with friends, this recipe brings joy and warmth to any table. Happy baking, and don’t forget to share your creations!
Garlic Parmesan Pull-Apart Bread

Garlic Parmesan Pull-Apart Bread is the ultimate comfort food that brings family and friends together around the table. This easy-to-make bread combines a crispy crust with a gooey, cheesy center, all infused with the rich flavors of garlic and Parmesan. Perfect for busy weeknights or special gatherings, it creates an interactive dining experience as everyone pulls off their own warm, cheesy piece. Simple to prepare and loaded with flavor, this delightful bread will impress your guests without spending hours in the kitchen. Get ready to enjoy a warm, aromatic treat that’s sure to be a hit!
- Prep Time: 15 minutes
- Cook Time: 20 minutes
- Total Time: 35 minutes
- Yield: 8 servings 1x
- Category: Appetizer
- Method: Baking
- Cuisine: American
Ingredients
- 1 large artisan loaf
- 1/2 cup melted butter
- 4 cloves minced garlic
- 1 cup shredded mozzarella cheese
- 1/2 cup grated Parmesan cheese
- Salt and pepper to taste
Instructions
- In a bowl, mix melted butter with minced garlic. Set aside to allow flavors to meld.
- Carefully slice the artisan loaf into sections without cutting all the way through.
- Gently pull apart slices and drizzle the garlic butter mixture into each crevice, stuffing with mozzarella and sprinkling Parmesan throughout.
- Wrap the filled loaf in foil and bake at 350°F (175°C) for 15-20 minutes until cheesy and melty.
- Let cool slightly before serving warm.
Nutrition
- Serving Size: 1/8 loaf (90g)
- Calories: 300
- Sugar: 1g
- Sodium: 450mg
- Fat: 20g
- Saturated Fat: 10g
- Unsaturated Fat: 9g
- Trans Fat: 0g
- Carbohydrates: 25g
- Fiber: 1g
- Protein: 7g
- Cholesterol: 30mg