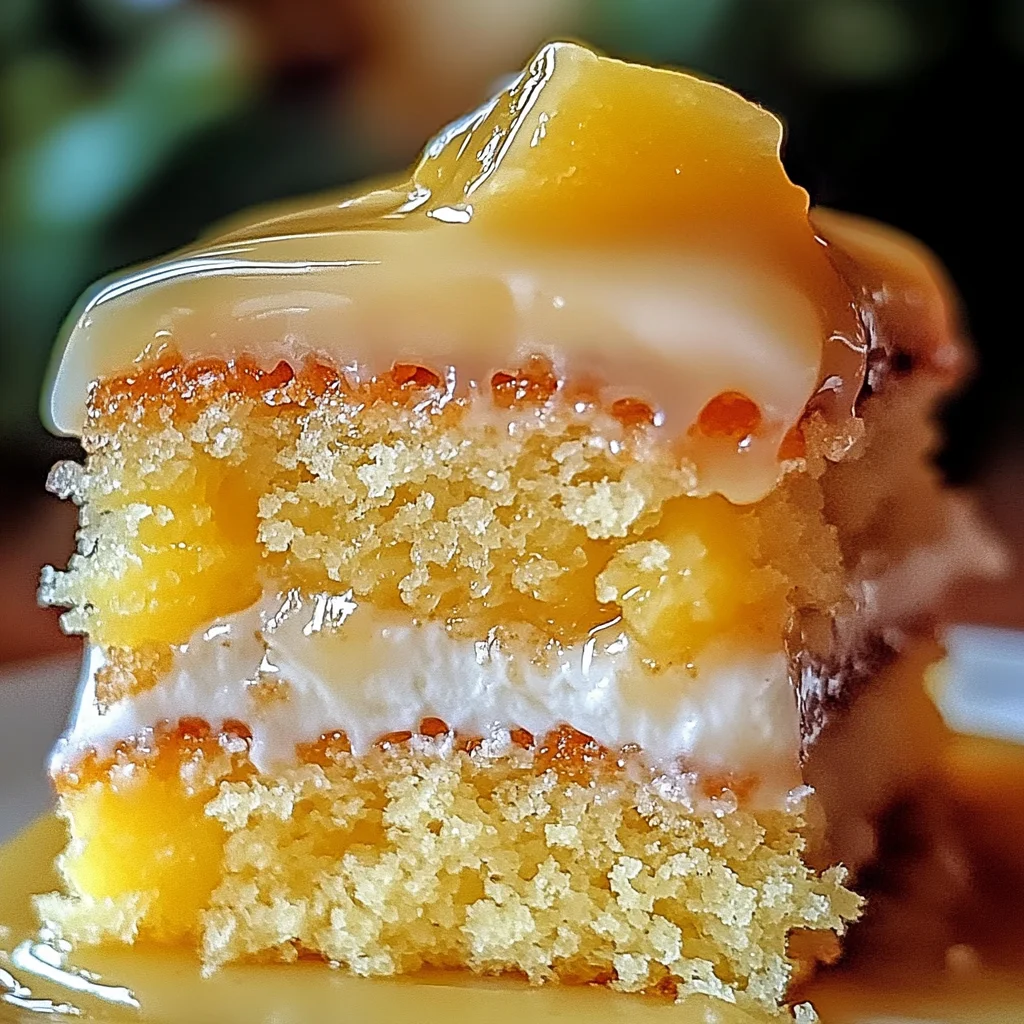
Juicy Pineapple Heaven Cake
Craving a tropical escape? Discover how to create a Juicy Pineapple Heaven Cake that promises a burst of flavor in every bite. This delightful cake is more than just dessert; it’s a slice of sunshine on your plate! Whether you’re hosting a family gathering or simply want to treat yourself after a long week, this cake is perfect for any occasion. The juicy pineapple adds a refreshing twist that will make your taste buds dance with joy!
Why You’ll Love This Recipe
- Quick and Easy: With simple steps and common ingredients, you’ll have this cake ready in no time.
- Tropical Flavor: The juicy pineapple brings a bright, sweet flavor that feels like a vacation.
- Perfect for Sharing: Ideal for gatherings or potlucks, everyone will want a slice of this deliciousness!
- Moist and Tender: The combination of sour cream and crushed pineapple ensures every bite is soft and moist.
- Make Ahead Friendly: Bake it the day before and let the flavors meld together for an even tastier treat.
Ingredients You’ll Need
To whip up your Juicy Pineapple Heaven Cake, gather these simple, wholesome ingredients. Each one plays a special role in creating that delightful tropical flavor and tender texture.
- 1 tsp salt
- 1 tsp baking powder
- 1 and 1/2 cups all-purpose flour
- 1/2 cup unsalted butter, softened
- 1 cup white sugar
- 2 large eggs
- 1 tsp vanilla extract
- 1/2 cup sour cream
- 1 cup crushed pineapple, well-drained
- 1/2 cup icing sugar
- 2 tbsp pineapple juice
Variations
This recipe is flexible and can be customized to suit your taste! Here are some fun variations to consider:
- Add Coconut Flakes: Mix in some shredded coconut for extra tropical flair.
- Include Nuts: Chopped walnuts or pecans can add a delightful crunch.
- Experiment with Frostings: Try using cream cheese frosting instead of glaze for a rich twist.
- Make It Gluten-Free: Substitute the all-purpose flour with gluten-free flour blend for an equally tasty cake.
How to Make Juicy Pineapple Heaven Cake
Step 1: Preheat Your Oven
Preheat your oven to 350°F (175°C). This step is crucial as it ensures even baking from the start. A properly preheated oven helps your cake rise beautifully!
Step 2: Prepare the Pan
Grease and flour a 9-inch round cake pan. This step prevents sticking, ensuring your cake releases effortlessly when it’s time to serve. A well-prepared pan makes all the difference!
Step 3: Combine Dry Ingredients
In a medium bowl, whisk together 1 ½ cups all-purpose flour, 1 teaspoon baking powder, and 1 teaspoon salt. This distributes the leavening agents evenly throughout the flour, which is vital for achieving that light cake texture we love.
Step 4: Cream Butter and Sugar
In a large bowl, cream together ½ cup softened unsalted butter with 1 cup granulated sugar until light and fluffy. This process incorporates air into the mixture, giving your cake that lovely airy texture.
Step 5: Add Eggs and Vanilla
Beat in 2 large eggs, one at a time, followed by 1 teaspoon vanilla extract. Mixing each egg in thoroughly ensures they incorporate well into the batter.
Step 6: Incorporate Sour Cream
Gently fold in ½ cup sour cream. This ingredient not only adds moisture but also enhances the flavor of our cake, making it wonderfully tender.
Step 7: Combine Wet and Dry Ingredients
Gradually add the dry ingredients into the wet mixture while mixing gently to avoid overmixing. The goal is a thick and smooth batter; overmixing could lead to a dense cake.
Step 8: Fold in Crushed Pineapple
Carefully fold in 1 cup drained crushed pineapple. The juicy sweetness elevates the aroma of your cake while contributing to its moist texture—such an important step!
Step 9: Pour Batter into Pan
Pour the batter into your prepared pan, spreading it evenly. Now it’s time to bake! Place it in the oven for about 30-35 minutes or until a toothpick inserted into the center comes out clean.
Step 10: Prepare Glaze While Baking
While your cake bakes, whisk together ½ cup powdered sugar and 2 tablespoons pineapple juice until smooth. This quick glaze will give your cooled cake an irresistible finish!
Step 11: Cool and Glaze
Allow your cake to cool completely before glazing. Once cooled, pour the glaze over the top of the cake so it trickles attractively down the sides—this finishing touch adds both flavor and charm!
Enjoy each bite of your Juicy Pineapple Heaven Cake! It’s bound to become a favorite at every gathering you attend!
Pro Tips for Making Juicy Pineapple Heaven Cake
Making a cake can be a delightful experience, and with a few simple tips, you can elevate your Juicy Pineapple Heaven Cake to heavenly heights!
-
Use room temperature ingredients: Bringing your eggs and butter to room temperature helps them combine more easily, resulting in a smoother batter and a fluffier cake.
-
Don’t skip the draining: Ensure that your crushed pineapple is well-drained to prevent excess moisture in the batter. This keeps your cake from becoming too soggy while maintaining its tropical flavor.
-
Test for doneness: Every oven is different! Use the toothpick test (inserted into the center of the cake) to check for doneness; it should come out clean or with just a few moist crumbs.
-
Cool completely before glazing: Allowing your cake to cool ensures that the glaze adheres properly and doesn’t melt away, creating a beautiful finish that enhances both flavor and aesthetics.
-
Store properly: To keep your cake fresh, store any leftovers in an airtight container at room temperature for up to three days. This preserves its moistness and delicious flavor.
How to Serve Juicy Pineapple Heaven Cake
Serving your Juicy Pineapple Heaven Cake can be as fun as making it! Here are some ideas to enhance your presentation and dining experience.
Garnishes
- Whipped coconut cream: A dollop of whipped coconut cream adds richness and complements the tropical flavors beautifully.
- Fresh mint leaves: A few sprigs of mint not only add a pop of color but also provide a refreshing contrast to the sweetness of the cake.
- Coconut flakes: Toasted coconut flakes sprinkled on top can give an added crunch and enhance the tropical vibe.
Side Dishes
- Tropical fruit salad: A mix of fresh fruits like mangoes, kiwis, and berries provides a light, refreshing contrast that balances the sweetness of the cake.
- Vanilla ice cream: Creamy vanilla ice cream pairs perfectly with warm slices of cake, creating a delightful contrast in temperature and texture.
- Citrus sorbet: The bright flavors of citrus sorbet refresh the palate between bites, enhancing the overall dessert experience.
- Lemonade or iced tea: A cold glass of lemonade or iced tea will complement the flavors of your cake while keeping things light and refreshing.
With these serving suggestions and pro tips, your Juicy Pineapple Heaven Cake will not only taste divine but also look stunning on any table. Enjoy every delightful bite!
Make Ahead and Storage
This Juicy Pineapple Heaven Cake is perfect for meal prep, allowing you to savor its delightful flavors throughout the week. Here’s how to keep it fresh and ready to enjoy!
Storing Leftovers
- Store leftover cake in an airtight container at room temperature for up to 3 days.
- If you live in a humid environment, consider refrigerating it to maintain freshness.
- For added moisture, place a slice of bread in the container with the cake.
Freezing
- Wrap the cooled cake tightly in plastic wrap and then foil to prevent freezer burn.
- Freeze for up to 3 months.
- To freeze individual slices, wrap each slice separately before placing them in a freezer-safe bag.
Reheating
- Thaw frozen slices overnight in the refrigerator before enjoying them.
- For a warm treat, microwave slices on low power for about 15-20 seconds. Be careful not to overheat, as it may dry out the cake.
FAQs
Here are some common questions that might arise while preparing your Juicy Pineapple Heaven Cake.
Can I use fresh pineapple instead of canned?
Yes! You can use fresh pineapple; just make sure to finely chop and drain it well before adding it to the batter.
How do I make my Juicy Pineapple Heaven Cake more flavorful?
Consider adding spices like cinnamon or nutmeg to enhance the flavor profile. A dash of coconut extract could also complement the tropical theme beautifully!
Can I substitute sour cream in this recipe?
Absolutely! You can replace sour cream with plain Greek yogurt or a dairy-free alternative if desired.
How long does the Juicy Pineapple Heaven Cake stay fresh?
When stored properly, this cake remains delicious for up to three days at room temperature or several months if frozen.
Final Thoughts
I hope you enjoy making this Juicy Pineapple Heaven Cake as much as I do! Its tropical flavors and moist texture make it a standout dessert for any occasion. Whether you’re treating yourself or sharing with friends and family, this cake is sure to bring smiles all around. Happy baking, and don’t forget to let your creativity shine through!
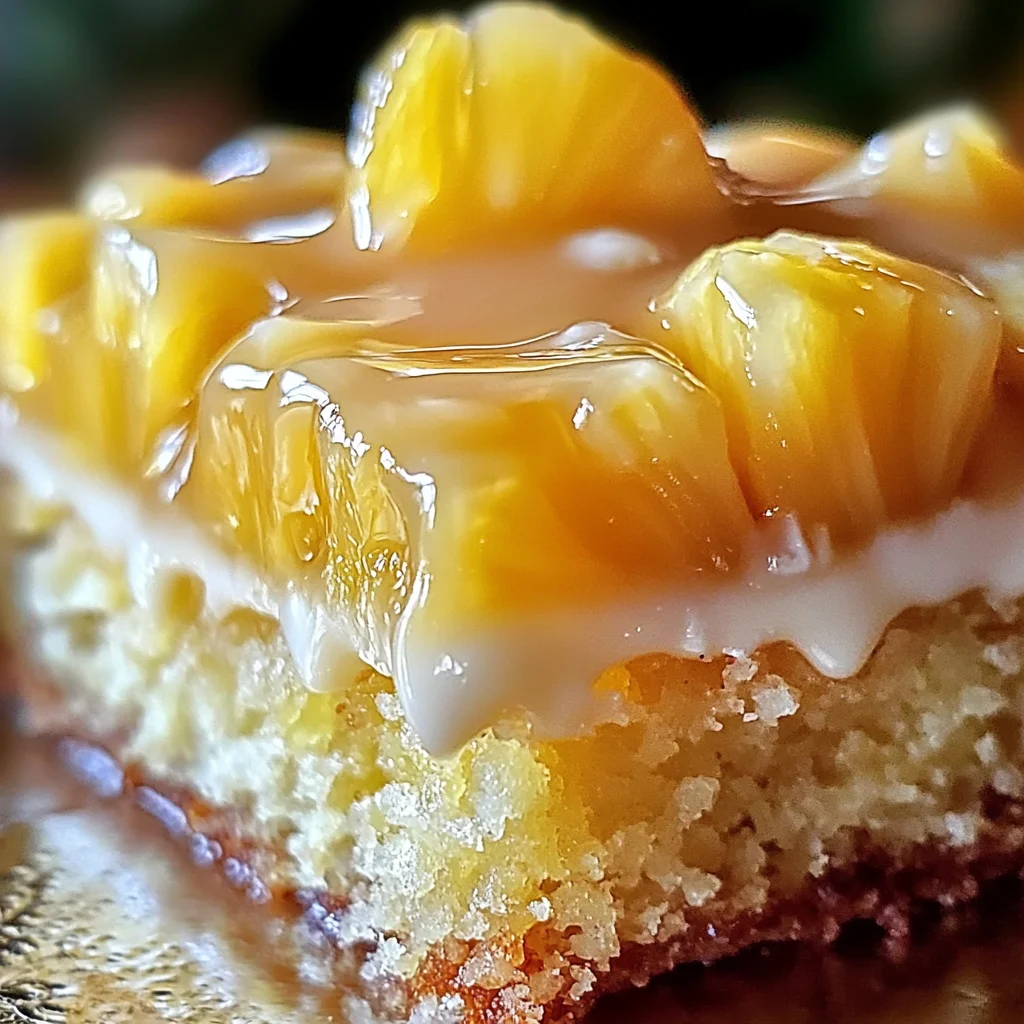
Juicy Pineapple Heaven Cake
Indulge in a slice of sunshine with our Juicy Pineapple Heaven Cake! This delightful dessert combines the tropical sweetness of crushed pineapple with a moist and tender cake texture, making it the perfect treat for any occasion. Whether you’re hosting a family gathering or simply treating yourself after a long week, this cake will elevate your dessert game. Topped with a light glaze made from pineapple juice, every bite is a refreshing burst of flavor that will leave your taste buds dancing. Easy to make and absolutely delicious, this cake is sure to become a beloved favorite among friends and family!
- Prep Time: 15 minutes
- Cook Time: 35 minutes
- Total Time: 50 minutes
- Yield: Approximately 10 servings 1x
- Category: Dessert
- Method: Baking
- Cuisine: Tropical
Ingredients
- 1 cup crushed pineapple (well-drained)
- ½ cup unsalted butter (softened)
- 1 cup white sugar
- 2 large eggs
- 1 tsp vanilla extract
- ½ cup sour cream
- 1½ cups all-purpose flour
- 1 tsp baking powder
- 1 tsp salt
Instructions
- Preheat your oven to 350°F (175°C) and grease a 9-inch round cake pan.
- In a bowl, whisk together flour, baking powder, and salt.
- Cream softened butter and sugar until light and fluffy.
- Beat in eggs one at a time, then add vanilla extract.
- Fold in sour cream, followed by the dry ingredients until just combined.
- Gently fold in the drained crushed pineapple.
- Pour batter into the prepared pan and bake for 30-35 minutes or until a toothpick comes out clean.
- While baking, mix icing sugar with pineapple juice for the glaze.
- Cool completely before glazing.
Nutrition
- Serving Size: 1 slice (80g)
- Calories: 290
- Sugar: 22g
- Sodium: 150mg
- Fat: 10g
- Saturated Fat: 6g
- Unsaturated Fat: 4g
- Trans Fat: 0g
- Carbohydrates: 44g
- Fiber: 1g
- Protein: 3g
- Cholesterol: 40mg