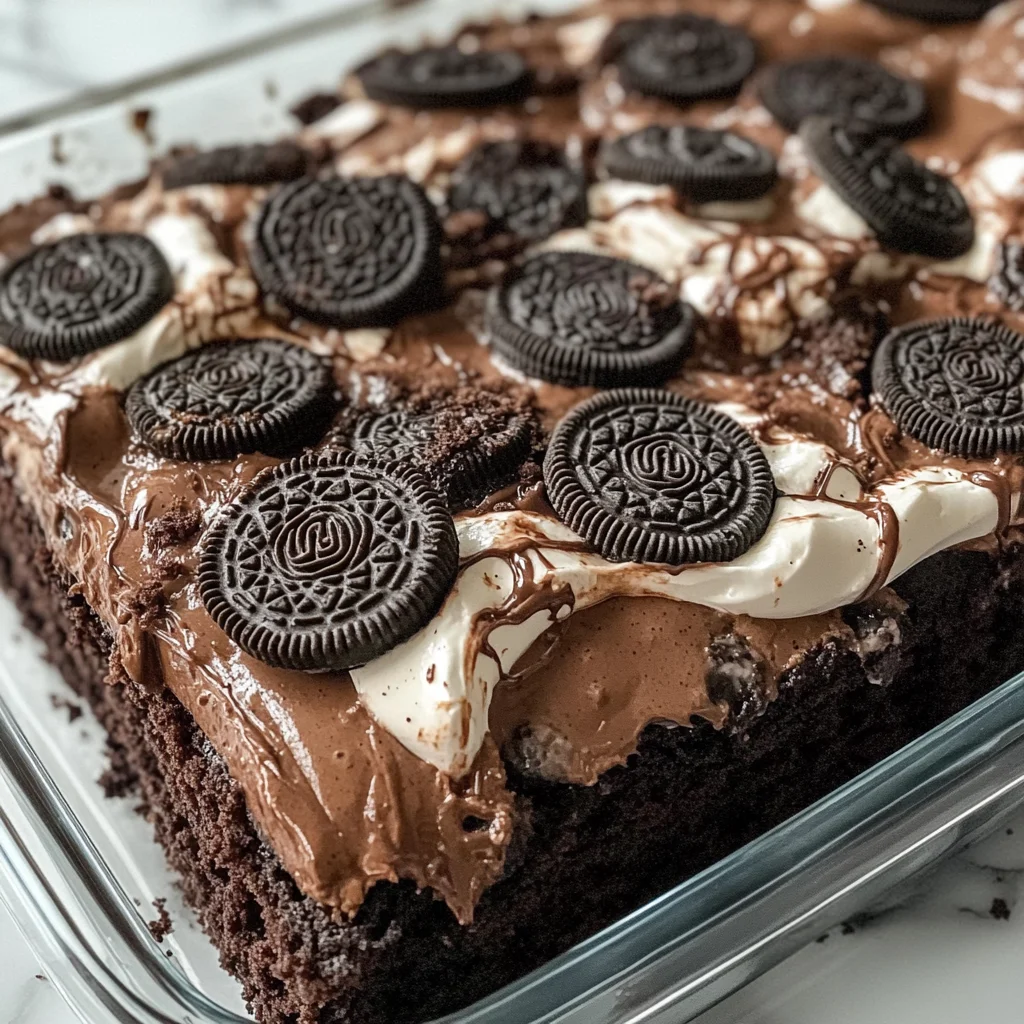
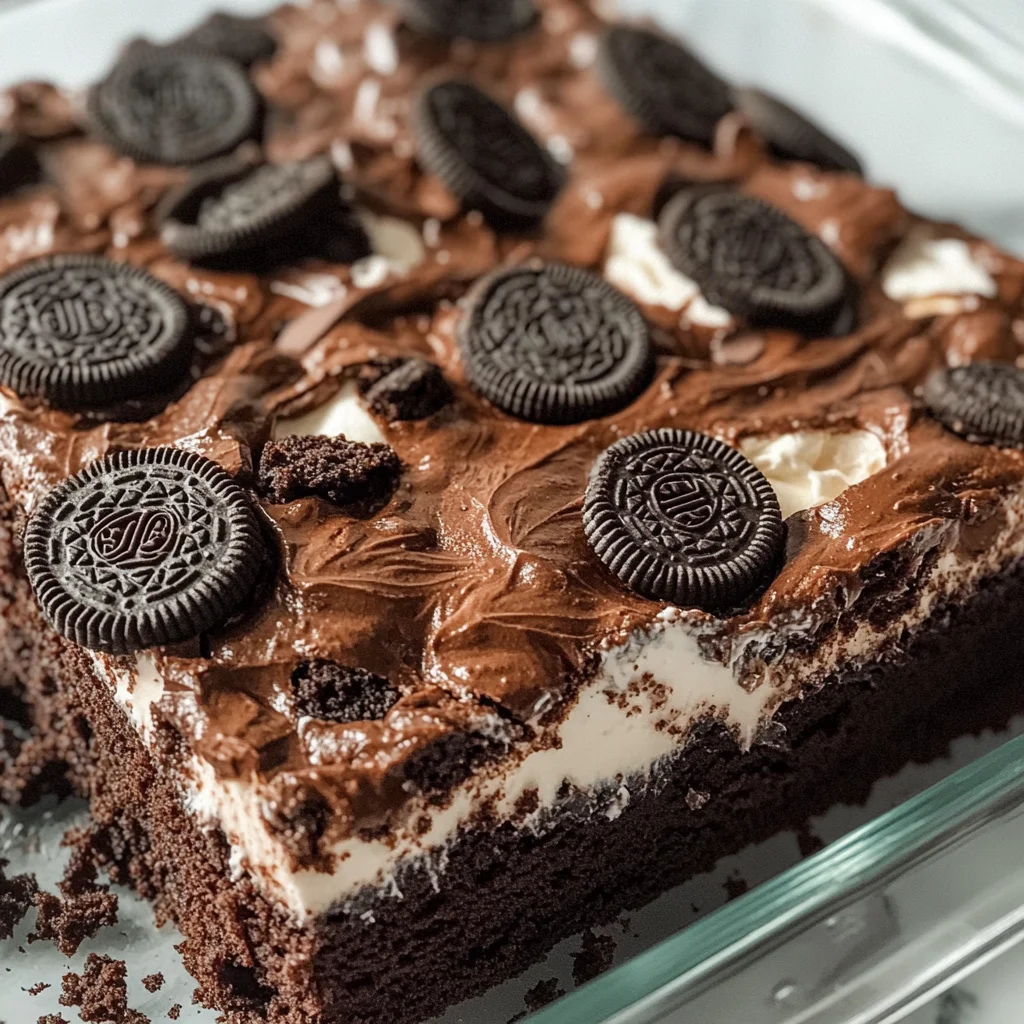
Oreo Dump Cake
If you’re looking for a dessert that’s as easy to make as it is delicious, then let me introduce you to my absolute favorite: Oreo Dump Cake! This delightful treat combines the classic flavors of chocolate and Oreo cookies into a gooey, rich cake that everyone will adore. Whether you’re hosting a casual get-together, attending a potluck, or just craving something sweet after dinner, this dessert is sure to impress without requiring much effort.
What I love most about this Oreo Dump Cake is how quickly it comes together. With just a few simple ingredients and minimal prep time, you’ll have a crowd-pleasing dessert ready to go. It’s the perfect way to satisfy your chocolate cravings while making fond memories with family and friends.
Why You’ll Love This Recipe
- Super Easy: With only five ingredients and no complicated steps, this recipe is perfect for beginner bakers.
- Family-Friendly: Everyone loves Oreos! This cake appeals to kids and adults alike—it’s sure to be a hit at any gathering.
- Make-Ahead Convenience: You can prepare it ahead of time and simply pop it in the oven when you’re ready to serve.
- Irresistible Flavor: The combination of chocolate cake, creamy Cool Whip, and crunchy Oreos creates an unforgettable taste experience.
Ingredients You’ll Need
This recipe calls for simple, wholesome ingredients that you probably already have on hand. Here’s what you’ll need to create this delectable Oreo Dump Cake:
For the Base
- 20 Oreo cookies
- 14 oz sweetened condensed milk (1 can)
- 1 (8 oz) container Cool Whip, thawed
For the Topping
- 1 box chocolate cake mix
- ¾ cup unsalted butter (1½ sticks or 12 tablespoons), cut into small pats
Now that we have our ingredients ready, let’s dive into how to make this scrumptious dessert!
Variations
One of the best things about Oreo Dump Cake is its flexibility. You can easily customize it to fit your taste preferences or dietary needs. Here are a few ideas:
- Add Some Crunch: Toss in some chopped nuts like walnuts or pecans for an extra layer of texture.
- Make It Minty: Swap regular Oreos for mint-flavored ones for a refreshing twist!
- Change the Cake Mix: Use vanilla or red velvet cake mix instead of chocolate for a fun flavor change.
- Layer in Fruit: Add fresh berries between the layers for a fruity surprise!
How to Make Oreo Dump Cake
Step 1: Preheat the Oven
Set your oven to 350°F (175°C). This step is crucial because starting with a hot oven ensures your cake bakes evenly and rises beautifully.
Step 2: Layer the Oreos
Arrange 10 Oreo cookies in a single layer across the bottom of your greased 9×13-inch baking dish. This cookie base adds fantastic flavor and texture right from the start.
Step 3: Add Condensed Milk and Cool Whip
Evenly pour the sweetened condensed milk over the Oreos. Then gently spread the Cool Whip over the milk using a spatula. These layers create a creamy foundation that perfectly complements the chocolate cake mix.
Step 4: Sprinkle on Cake Mix
Sprinkle the entire box of chocolate cake mix evenly over the Cool Whip layer. Use a fork to break up any lumps in the cake mix—this helps ensure even baking and texture throughout your dessert.
Step 5: Top with Butter
Distribute pats of butter evenly over the surface of the cake mix. It’s important not to stir or mix; letting it bake as-is will result in that coveted gooey texture.
Step 6: Bake
Bake for 40–45 minutes or until the top is bubbly and slightly crisp. Allow your masterpiece to cool for just a few minutes before serving warm—you won’t want to wait too long!
And there you have it! A luscious Oreo Dump Cake that’s sure to become your new go-to dessert recipe. Enjoy every bite with those you love!
Pro Tips for Making Oreo Dump Cake
Creating the perfect Oreo Dump Cake is simple, but a few tips can take your dessert from good to unforgettable!
-
Use fresh ingredients: Fresh Oreos and Cool Whip ensure the best flavor and texture in your cake. Stale cookies can lead to a less enjoyable dessert experience.
-
Don’t skip the cooling time: Allowing the cake to cool slightly before serving helps it set up nicely. This makes it easier to scoop and enhances the flavors as they meld together.
-
Experiment with toppings: Feel free to add your favorite toppings such as chocolate chips or crushed Oreos on top of the butter layer before baking for an extra touch of decadence.
-
Adjust baking time based on oven: Every oven is different, so start checking for doneness a few minutes early. You want a bubbly top that’s slightly crisp, but not overbaked.
How to Serve Oreo Dump Cake
Oreo Dump Cake is delightful served warm right out of the oven, but there are many ways to present this scrumptious dessert that will impress your guests!
Garnishes
-
Crushed Oreos: Sprinkling crushed Oreos on top adds an extra crunch and reinforces the cookie flavor.
-
Chocolate Syrup: A drizzle of chocolate syrup not only looks beautiful but also enhances the rich chocolatey taste of the cake.
Side Dishes
-
Vanilla Ice Cream: A scoop of creamy vanilla ice cream pairs perfectly with the warm dump cake, creating a delightful contrast in temperature and flavor.
-
Fresh Berries: Lighten things up with a side of fresh strawberries or raspberries. Their tartness complements the sweetness of the cake beautifully.
-
Whipped Coconut Cream: For a dairy-free option, whipped coconut cream is an excellent choice that adds a light and fluffy texture while keeping everything deliciously vegan-friendly.
-
Fruit Salad: A refreshing fruit salad brings brightness to your table and balances out the richness of the cake. Opt for seasonal fruits for added freshness!
With these presentation ideas and tips in mind, you’re ready to serve up an irresistible Oreo Dump Cake that everyone will love! Enjoy every bite!
Make Ahead and Storage
This Oreo Dump Cake is not only delicious but also perfect for meal prep. You can easily make it ahead of time for gatherings or simply to enjoy throughout the week.
Storing Leftovers
- Allow the cake to cool completely before storing.
- Cover the baking dish tightly with plastic wrap or aluminum foil.
- Store in the refrigerator for up to 3 days.
- For longer storage, consider freezing.
Freezing
- Cut the cooled cake into individual portions for easier thawing.
- Wrap each piece tightly in plastic wrap, then place them in an airtight container or freezer bag.
- The cake can be frozen for up to 2 months.
Reheating
- Thaw frozen portions in the refrigerator overnight before reheating.
- To reheat, place a slice on a microwave-safe plate and heat for about 30-45 seconds or until warmed through.
- Alternatively, you can reheat in a preheated oven at 350°F (175°C) for about 10-15 minutes.
FAQs
Here are some common questions about making Oreo Dump Cake:
Can I use other cookies instead of Oreos in this dump cake?
Absolutely! While Oreos give this dump cake its unique flavor, you can experiment with any chocolate sandwich cookies or even graham crackers for a different twist.
What makes Oreo Dump Cake so easy to prepare?
Oreo Dump Cake is incredibly simple because it requires no mixing of ingredients. Just layer everything in the baking dish, and let the oven do all the work!
How should I serve Oreo Dump Cake?
Serve your Oreo Dump Cake warm straight from the oven or chilled from the fridge. Top it with extra Cool Whip or chocolate sauce for an indulgent treat!
How long does Oreo Dump Cake last?
When stored properly, Oreo Dump Cake lasts up to 3 days in the fridge. If frozen, it can be enjoyed for up to 2 months!
Final Thoughts
I hope you’re as excited to try this Oreo Dump Cake as I am! It’s such a delightful dessert that brings joy with every bite. Whether you’re sharing it with friends at a potluck or indulging in a cozy night at home, this cake is sure to impress. Enjoy making it and savoring those rich chocolatey layers. Happy baking!
Oreo Dump Cake

Oreo Dump Cake is a delightful dessert that combines the beloved flavors of chocolate and Oreo cookies into a rich, gooey treat. Perfect for any occasion, this easy-to-make cake requires only five simple ingredients and minimal prep time, making it a fantastic option for gatherings or cozy nights in. With layers of creamy goodness topped with a decadent chocolate cake mix, this dessert will surely impress your family and friends without the hassle of complicated baking. Serve it warm or chilled, and enjoy the sweet satisfaction of this indulgent treat!
- Prep Time: 15 minutes
- Cook Time: 45 minutes
- Total Time: 1 hour
- Yield: Serves approximately 12 slices 1x
- Category: Dessert
- Method: Baking
- Cuisine: American
Ingredients
- 20 Oreo cookies
- 14 oz sweetened condensed milk (1 can)
- 1 (8 oz) container Cool Whip, thawed
- 1 box chocolate cake mix
- ¾ cup unsalted butter (1½ sticks or 12 tablespoons), cut into small pats
Instructions
- Preheat the oven to 350°F (175°C).
- Layer 10 Oreo cookies on the bottom of a greased 9×13-inch baking dish.
- Pour the sweetened condensed milk evenly over the Oreos.
- Spread the Cool Whip evenly over the condensed milk layer.
- Sprinkle the entire box of chocolate cake mix over the Cool Whip.
- Place pats of butter evenly across the top of the cake mix.
- Bake for 40–45 minutes until bubbly and slightly crisp on top.
- Allow to cool for a few minutes before serving warm.
Nutrition
- Serving Size: 1 slice (100g)
- Calories: 380
- Sugar: 28g
- Sodium: 300mg
- Fat: 18g
- Saturated Fat: 10g
- Unsaturated Fat: 8g
- Trans Fat: 0g
- Carbohydrates: 54g
- Fiber: 2g
- Protein: 4g
- Cholesterol: 30mg