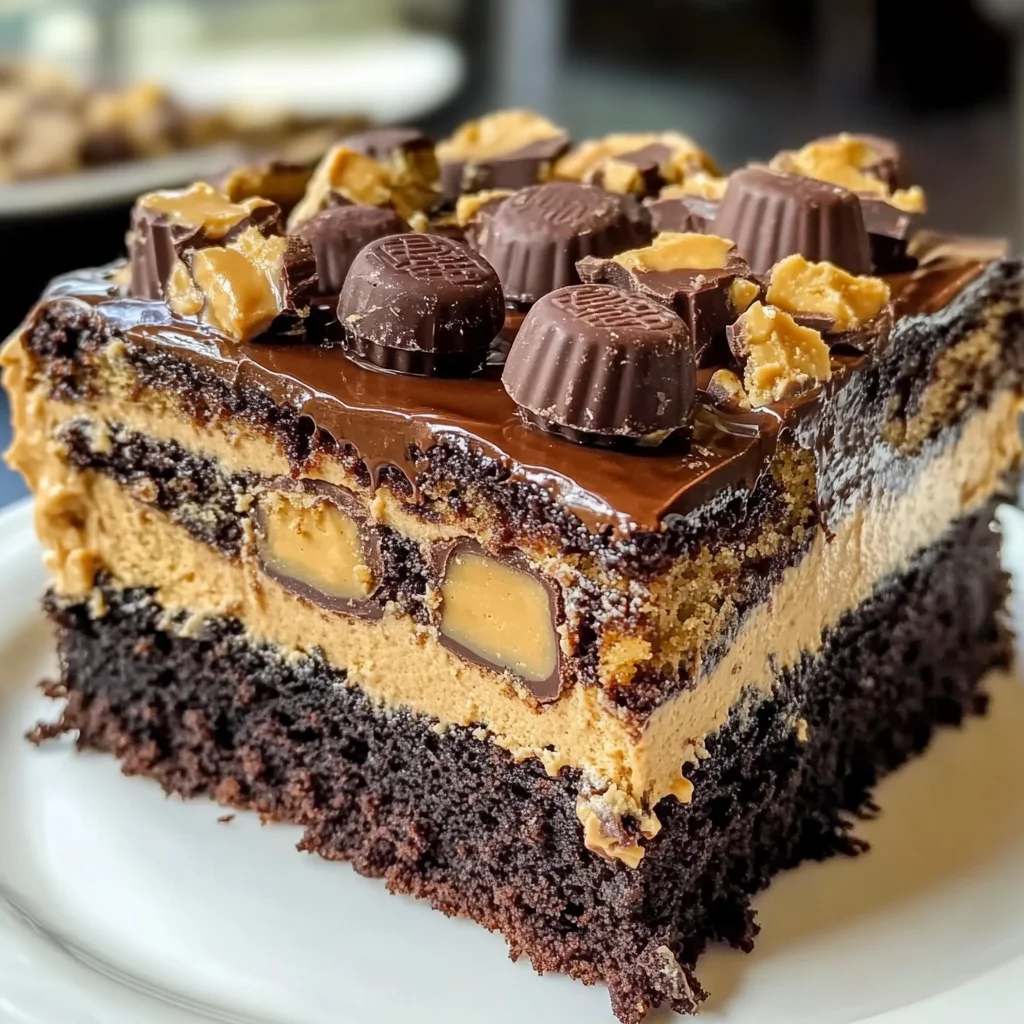
Reese’s Peanut Butter Earthquake Cake
If you’re looking for a dessert that’s sure to impress everyone around your table, then you’ve stumbled upon a gem: Reese’s Peanut Butter Earthquake Cake. This delightful treat combines rich chocolate with the creamy goodness of peanut butter and the irresistible crunch of Reese’s cups. It’s a cake that brings smiles and satisfaction, making it perfect for family gatherings, birthdays, or even just a cozy weeknight treat.
What makes this cake so special? It’s not just about the flavors; it’s about the experience of baking it together with loved ones. The gooey center and decadent toppings create an indulgent dessert that feels like a warm hug. Plus, it’s easy enough for anyone to whip up, making it a go-to recipe you’ll want to keep handy!
Why You’ll Love This Recipe
- Easy to Make: With simple steps and minimal prep time, you’ll have this cake in the oven in no time.
- Family Favorite: Everyone loves chocolate and peanut butter! This cake is sure to become a hit at your dinner table.
- Make-Ahead Friendly: Bake it in advance, and enjoy it warm or at room temperature later on.
- Decadent Layers: The combination of creamy peanut butter and chocolate creates layers of flavor that will leave you wanting more.
Ingredients You’ll Need
For this delightful cake, you’ll need some simple and wholesome ingredients that are easy to find. Let’s gather everything we need to create this delicious masterpiece!
For the Cake
- 1 box chocolate cake mix
- 1 cup water
- 1/2 cup vegetable oil
- 3 large eggs
For the Peanut Butter Mixture
- 1 cup creamy peanut butter
- 8 oz cream cheese, softened
- 1/2 cup unsalted butter, melted
- 4 cups powdered sugar
- 1 tsp vanilla extract
Toppings
- 1 cup Reese’s Peanut Butter Cups, chopped
Variations
This recipe is wonderfully flexible! Feel free to get creative with your own twists on this beloved cake.
- Add nuts: Chopped peanuts can give an extra crunch and enhance the peanut flavor.
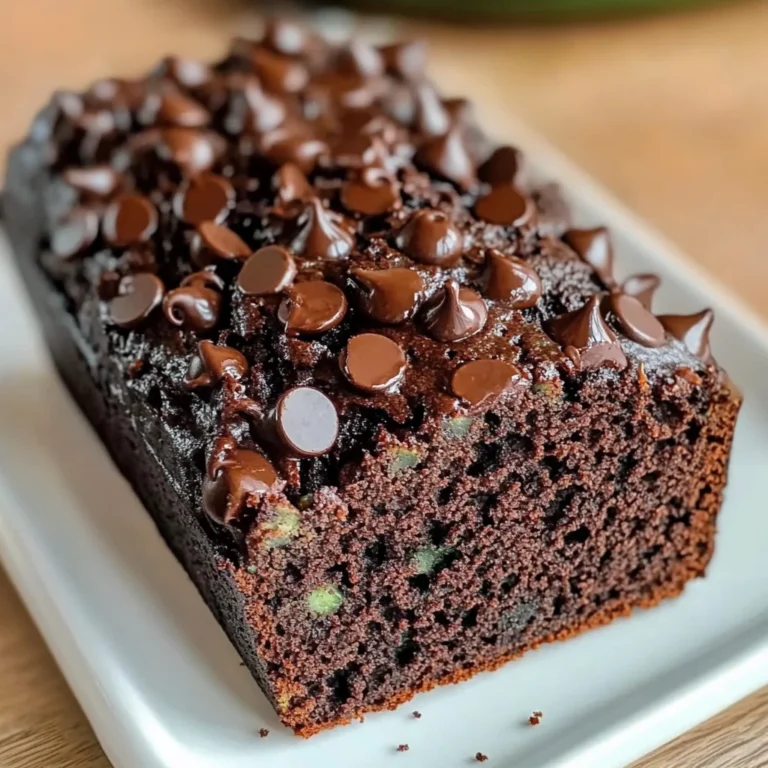
- Swirl in some chocolate chips: For an extra chocolatey kick, add semi-sweet or dairy-free chocolate chips into the batter.
- Try different toppings: Use other types of candy bars or sprinkle some sea salt on top for added flavor contrast.
- Make it gluten-free: Substitute the chocolate cake mix with a gluten-free version for those with dietary restrictions.
How to Make Reese’s Peanut Butter Earthquake Cake
Step 1: Preheat Your Oven
First things first—preheat your oven to 350°F (175°C). This ensures your cake bakes evenly from the moment it goes in. While that heats up, grease a 9×13-inch baking dish so that your cake won’t stick.
Step 2: Prepare the Cake Batter
In a large bowl, mix together the chocolate cake mix, water, vegetable oil, and eggs until well blended. Pour this luscious batter into your prepared baking dish. This base layer is where all those beautiful flavors will start to come together.
Step 3: Create the Peanut Butter Mixture
In another bowl, combine creamy peanut butter, softened cream cheese, melted unsalted butter, powdered sugar, and vanilla extract. Mix until smooth and creamy. This mixture is what adds that rich peanut buttery goodness right through the center of your cake.
Step 4: Swirl It Together
Drop spoonfuls of the peanut butter mixture over the top of the cake batter. Grab a knife and gently swirl it into the batter below—this creates those signature “earthquake” cracks as it bakes!
Step 5: Add Toppings
Sprinkle chopped Reese’s Peanut Butter Cups evenly over everything. These little treats will melt slightly during baking and add an irresistible crunch on top.
Step 6: Bake Your Cake
Pop your dish into the oven and bake for about 35-40 minutes. Keep an eye on it; when a toothpick inserted into the center comes out mostly clean (a few crumbs are okay!), your cake is ready!
Step 7: Cool and Enjoy!
Allow your delicious creation to cool slightly before serving. Whether you enjoy it warm or at room temperature, each bite will be pure bliss!
Now you’re all set to impress with this Reese’s Peanut Butter Earthquake Cake—happy baking!
Pro Tips for Making Reese’s Peanut Butter Earthquake Cake
Creating a delightful Reese’s Peanut Butter Earthquake Cake is easier than you might think! Here are some tips to ensure your cake turns out perfectly every time.
-
Use room temperature ingredients: Bringing your eggs and cream cheese to room temperature helps them blend more smoothly, resulting in a creamier peanut butter filling.
-
Don’t overmix the batter: Mixing just until combined prevents your cake from becoming dense. A few lumps are okay; they’ll bake out!
-
Check for doneness: Since oven temperatures can vary, start checking your cake a few minutes before the suggested baking time. A toothpick should come out with a few moist crumbs, not wet batter.
-
Let it cool slightly before serving: Allowing the cake to rest for about 10-15 minutes after baking lets it set, making it easier to cut and serve without falling apart.
-
Experiment with mix-ins: Feel free to add chopped nuts or chocolate chips to the batter for an extra layer of flavor and texture!
How to Serve Reese’s Peanut Butter Earthquake Cake
Serving this cake is all about presentation and enhancing its deliciousness. Here are some ideas to make your dessert even more enjoyable for family and friends.
Garnishes
- Whipped coconut cream: A dollop of whipped coconut cream adds a light, fluffy texture that complements the rich flavors of the cake.
- Chocolate drizzle: Drizzling melted chocolate over the top gives it a luxurious look and an extra chocolatey kick.
- Chopped peanuts: Sprinkling chopped peanuts on top provides a delightful crunch and enhances the peanut flavor.
Side Dishes
- Vanilla ice cream: The creamy sweetness of vanilla ice cream pairs beautifully with the rich chocolate and peanut butter flavors of the cake.
- Fresh berries: A side of fresh strawberries or raspberries adds a refreshing contrast to balance the indulgence of the cake.
- Coffee or tea: Serving your cake with a warm cup of coffee or herbal tea creates a comforting experience that enhances every bite.
- Fruit salad: A light fruit salad can bring a refreshing element to your dessert table, balancing out the richness of the cake.
With these serving suggestions and pro tips in mind, you’ll create an unforgettable dessert experience that everyone will love! Enjoy every delicious bite!
Make Ahead and Storage
This Reese’s Peanut Butter Earthquake Cake is not only delicious but also perfect for meal prep! You can easily make it ahead of time and store it for later enjoyment.
Storing Leftovers
- Allow the cake to cool completely before storing.
- Cover the cake with plastic wrap or aluminum foil, or transfer it to an airtight container.
- Store in the refrigerator for up to 5 days.
Freezing
- To freeze, first cut the cake into individual pieces.
- Wrap each piece tightly in plastic wrap, then place them in a freezer-safe bag or container.
- Freeze for up to 3 months.
Reheating
- For best results, thaw frozen pieces in the refrigerator overnight.
- Reheat slices in the microwave for about 15-20 seconds or until warmed through.
- Enjoy warm for that gooey texture, just like fresh out of the oven!
FAQs
Here are some common questions you might have about making this delightful dessert.
Can I make this Reese’s Peanut Butter Earthquake Cake without cream cheese?
Absolutely! You can substitute the cream cheese with a dairy-free cream cheese alternative or simply increase the amount of peanut butter for a richer flavor.
How can I customize my Reese’s Peanut Butter Earthquake Cake?
Feel free to mix in different types of chocolate candies or nuts! You could also use chunky peanut butter for added texture.
What should I serve with my Reese’s Peanut Butter Earthquake Cake?
This cake pairs wonderfully with a scoop of vanilla ice cream or a drizzle of chocolate sauce. Fresh fruit can also add a nice contrast!
Final Thoughts
I hope you enjoy creating this indulgent Reese’s Peanut Butter Earthquake Cake as much as I do! It’s truly a special dessert that brings everyone together. Whether you’re celebrating a special occasion or just want to treat yourself, this recipe is sure to impress. Happy baking, and don’t forget to share your delicious creations!
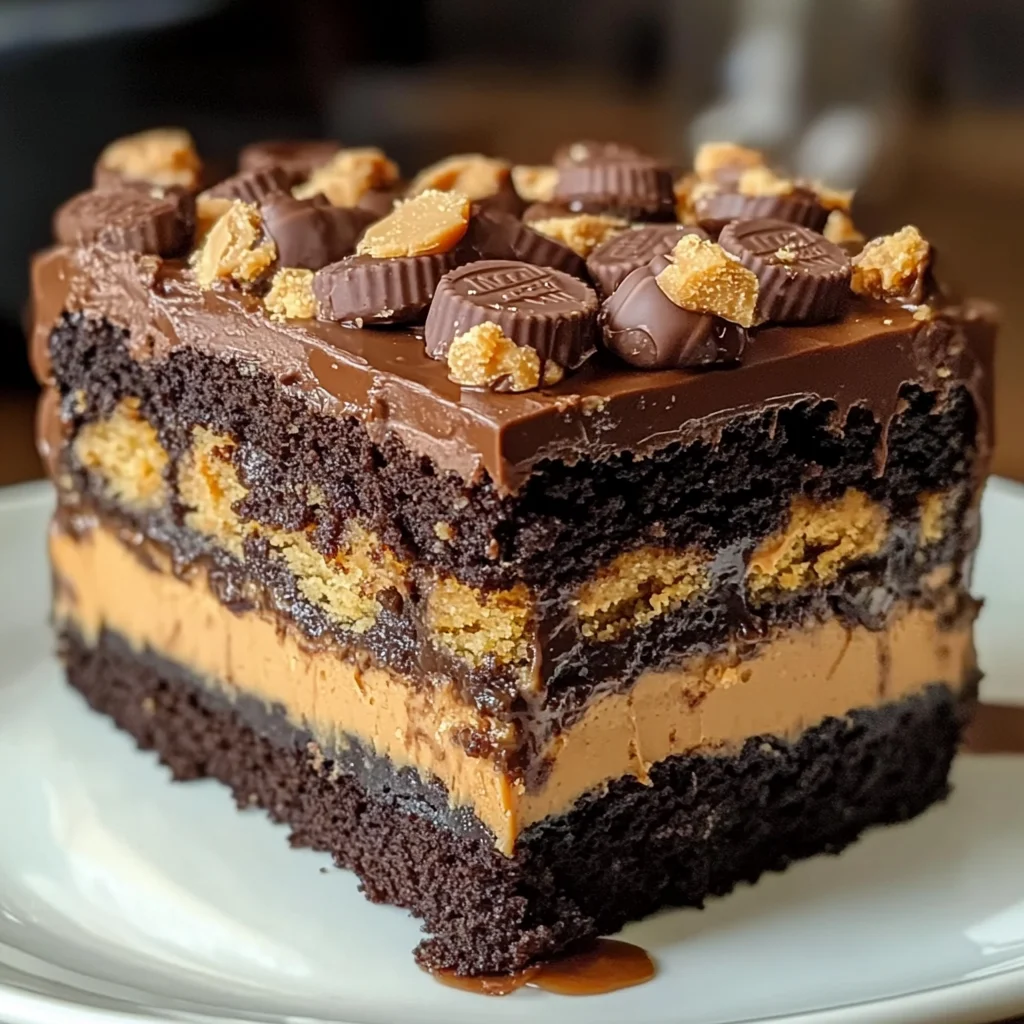
Reese’s Peanut Butter Earthquake Cake

Indulge in the delight of Reese’s Peanut Butter Earthquake Cake, a dessert that promises to be the star of any gathering. This scrumptious cake layers rich chocolate with creamy peanut butter and crunchy Reese’s cups for an unforgettable treat. Whether you’re celebrating a birthday, hosting a family dinner, or simply treating yourself on a cozy night in, this easy-to-make recipe is sure to impress everyone around your table. The gooey center and decadent toppings create an indulgent experience that feels like home, making it a must-have in your baking repertoire.
- Prep Time: 15 minutes
- Cook Time: 40 minutes
- Total Time: 55 minutes
- Yield: Approximately 12 servings 1x
- Category: Dessert
- Method: Baking
- Cuisine: American
Ingredients
- 1 box chocolate cake mix
- 1 cup water
- 1/2 cup vegetable oil
- 3 large eggs
- 1 cup creamy peanut butter
- 8 oz cream cheese, softened
- 1/2 cup unsalted butter, melted
- 4 cups powdered sugar
- 1 tsp vanilla extract
- 1 cup chopped Reese’s Peanut Butter Cups
Instructions
- Preheat oven to 350°F (175°C) and grease a 9×13-inch baking dish.
- In a large bowl, mix the chocolate cake mix, water, vegetable oil, and eggs until well blended. Pour into the prepared baking dish.
- In another bowl, combine peanut butter, cream cheese, melted butter, powdered sugar, and vanilla extract until smooth.
- Spoon the peanut butter mixture over the cake batter and gently swirl with a knife.
- Sprinkle chopped Reese’s Peanut Butter Cups on top.
- Bake for 35-40 minutes or until a toothpick comes out mostly clean.
- Allow to cool slightly before serving.
Nutrition
- Serving Size: 1 serving
- Calories: 355
- Sugar: 34g
- Sodium: 320mg
- Fat: 19g
- Saturated Fat: 7g
- Unsaturated Fat: 11g
- Trans Fat: 0g
- Carbohydrates: 41g
- Fiber: 2g
- Protein: 5g
- Cholesterol: 42mg